

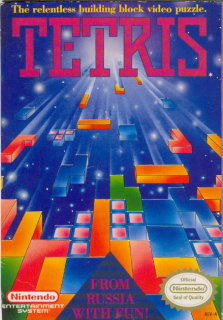
Hello lovely Otherbeasts! There's nothing I love more than geeky grafts and I thought of one to do today (besides stripping my old cable box for the LEDS to do something with) that would capture the hearts of the 80's and 90's kids! Ready for some nostalgia?
See, there it is.


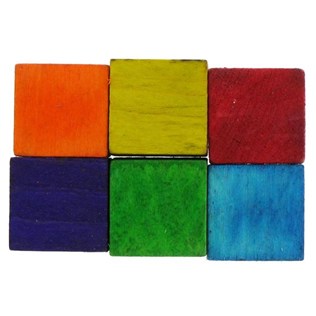
So, for about $2.00 to $10.00, you can make your very own! (2.00 if you already have crafty things, 10.00 if you have to buy everything. Heck, at Hobby Lobby you can get already colored (red, purple, turquoise, orange, green, yellow) wooden 9/16" cubes - and 72 pieces in a package- for a cool $2.24 right now here: Click for Hobby Lobby.


So here's what you'll need:
Supplies:
- wooden cubes (or plastic ones) (or already colored wood ones)
- a magnet sheet
- a ruler or straightedge
- glue (choose wisely) or adhesive magnet strips
-scissors
- acrylic paint (you remember the colors right?)
(I'm kidding, choose your own colors!)
(Or screw the colors for an organic look.)
(Or use the colored wood - I would, I'm lazy.)
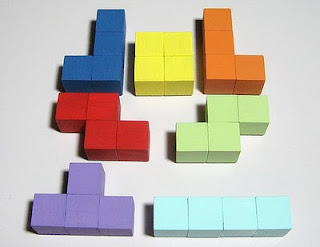
Step one: Take your wooden or plastic cubes and start laying out the basic shapes of the Tetris blocks. You remember the shapes right?

Step Two: Get out your glue, or use your magnetic adhesive, and start lining up your blocks using your ruler or straight edge.


(Don't tell me you don't remember doing this after screwing up a few times, giving up, becoming frustrated, and resorting to hitting A and B furiously while hitting the directional pad wildly and screaming, "Fine! Fine! Then just do it like THIS! How's that!? Stupid game, stupid Tetris! Argh!")
((You 'member.))
Step Four: Use scissors to cut away excess magnet sheet and make it the same shape as your blocks. Then glue on. Then let glue dry. Wax on, wax off.

Step 5: Stick on your refrigerator, step back, and admire your geeky craftiness! Next: The World! Mwa ha ha ha ha ha, MWA HA HA HA HA, mwa ha ha.
I hope you have fun doing this! Heart <3 Tetris.

Have fun my crafty Otherbeasts!
______

Until Next Time,
<3 Shade
No comments:
Post a Comment